One Room Challenge Spring 2019-The Reveal
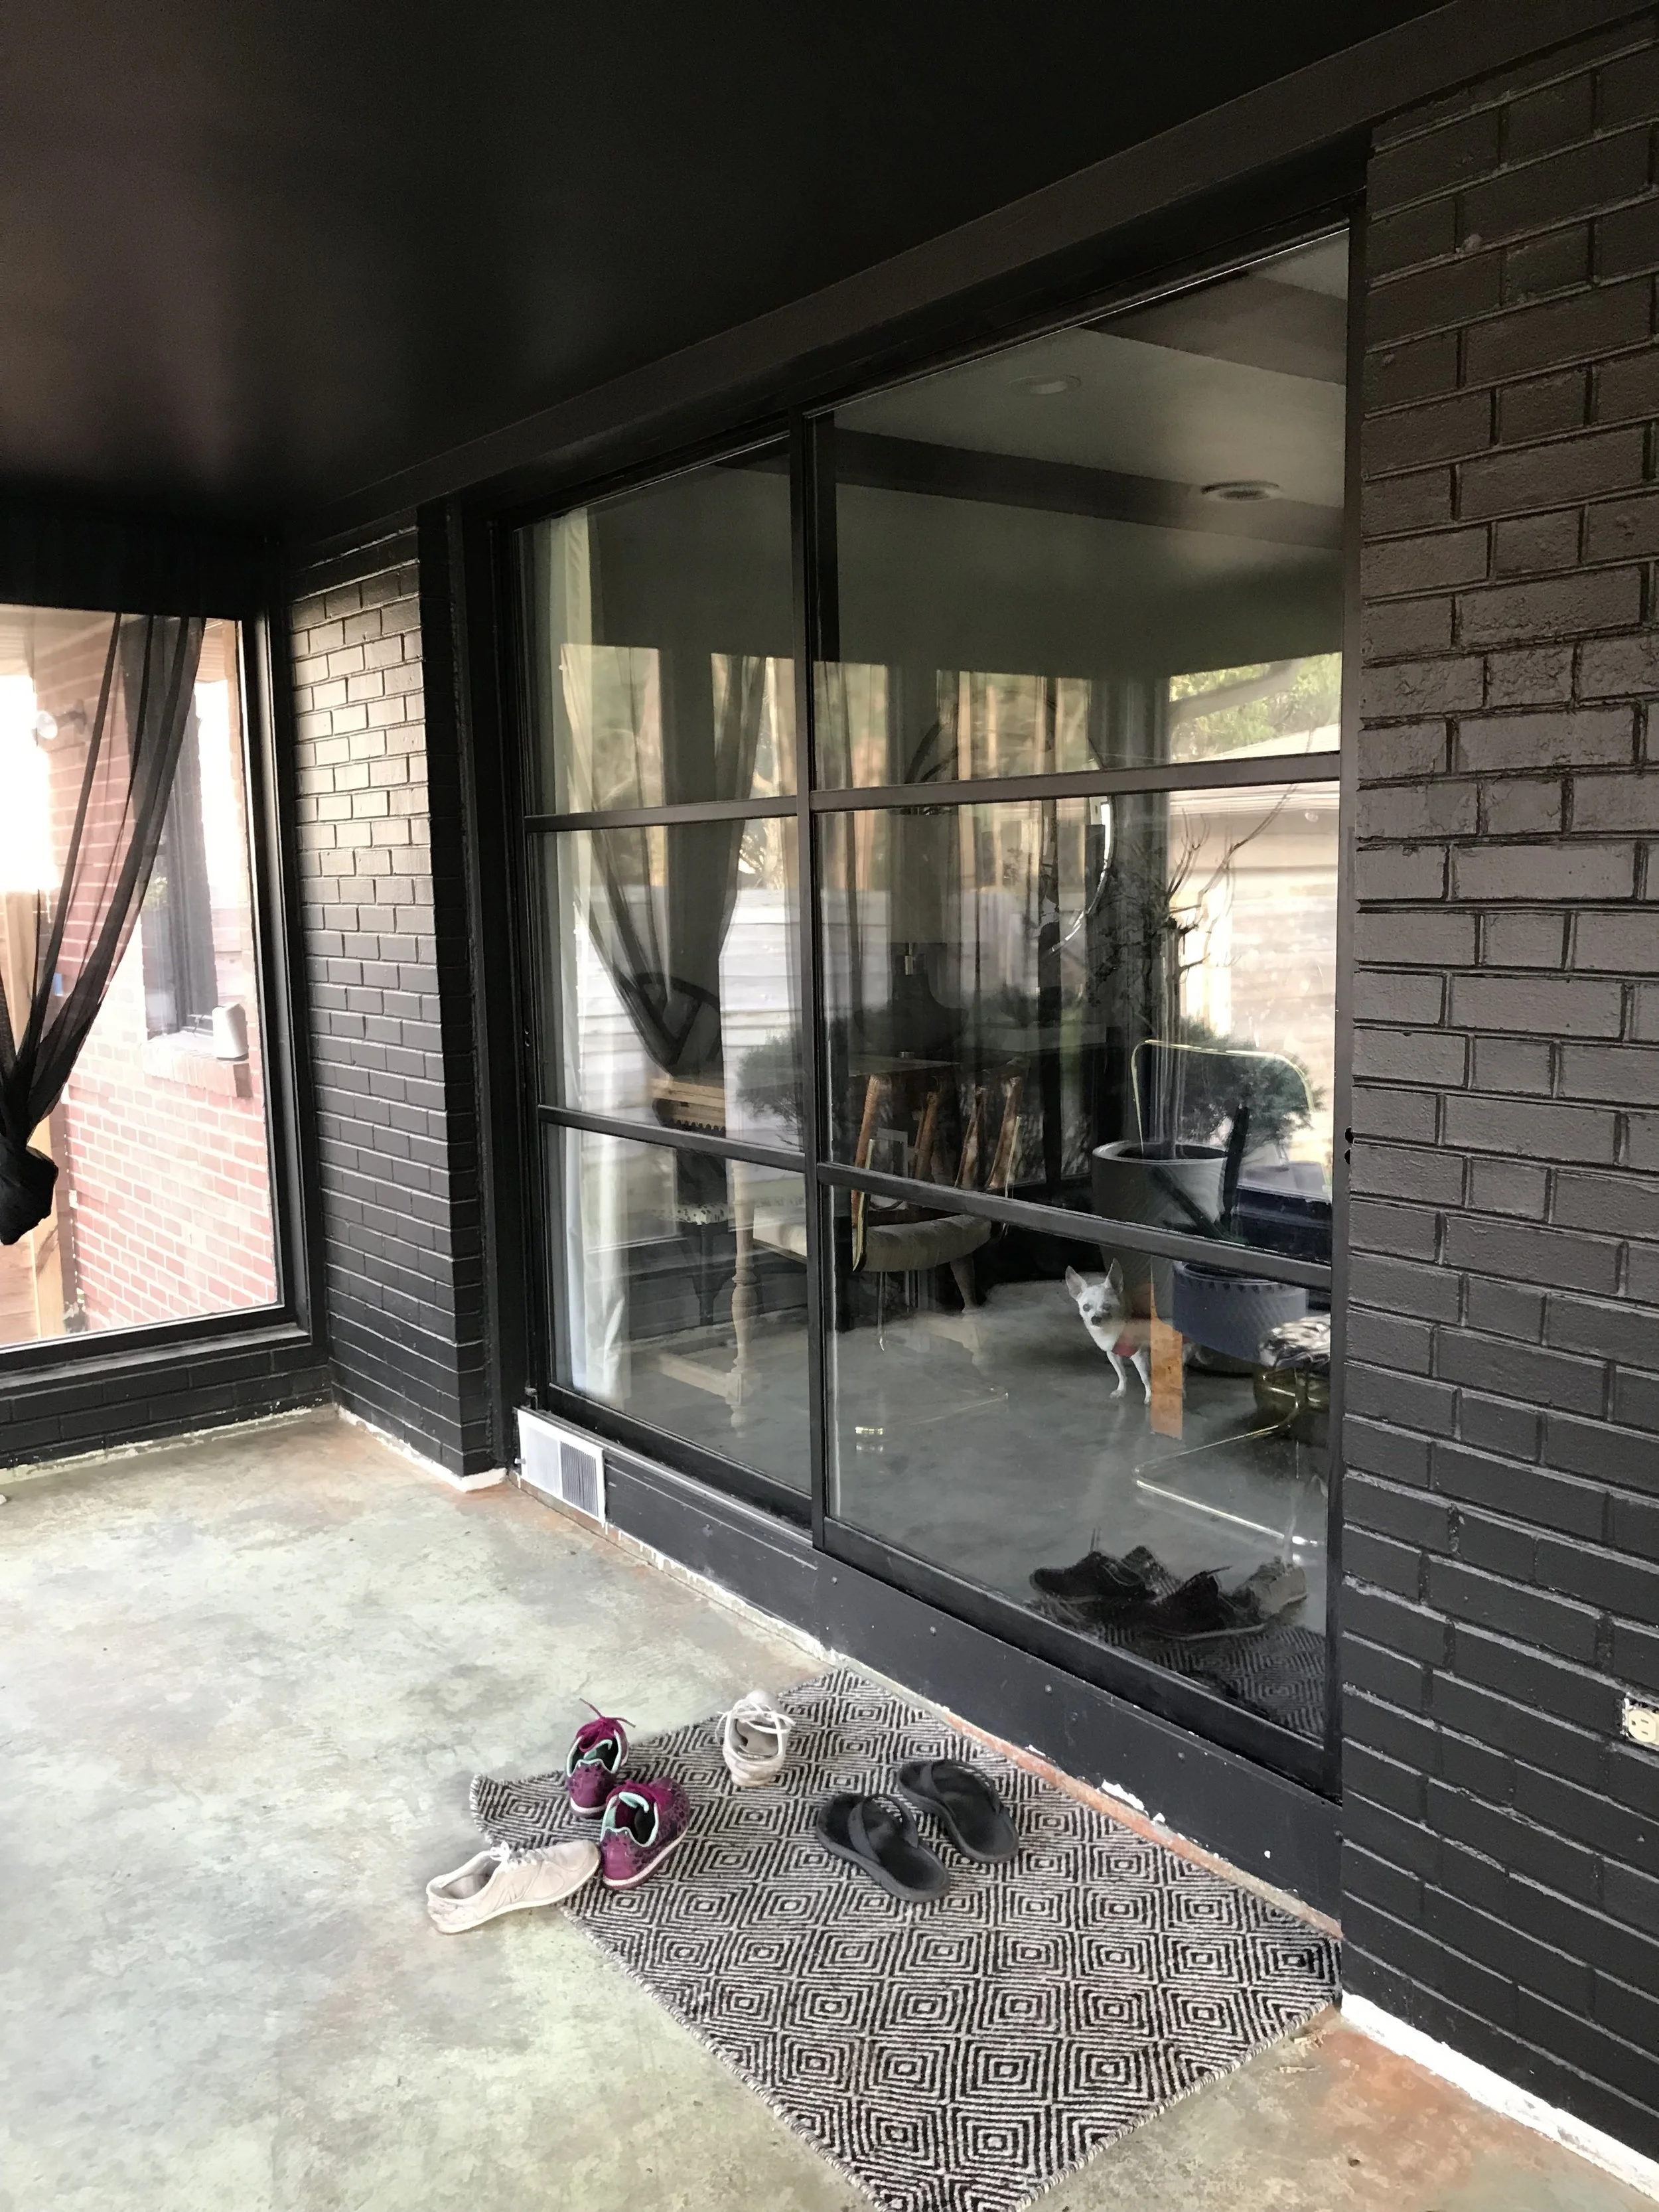
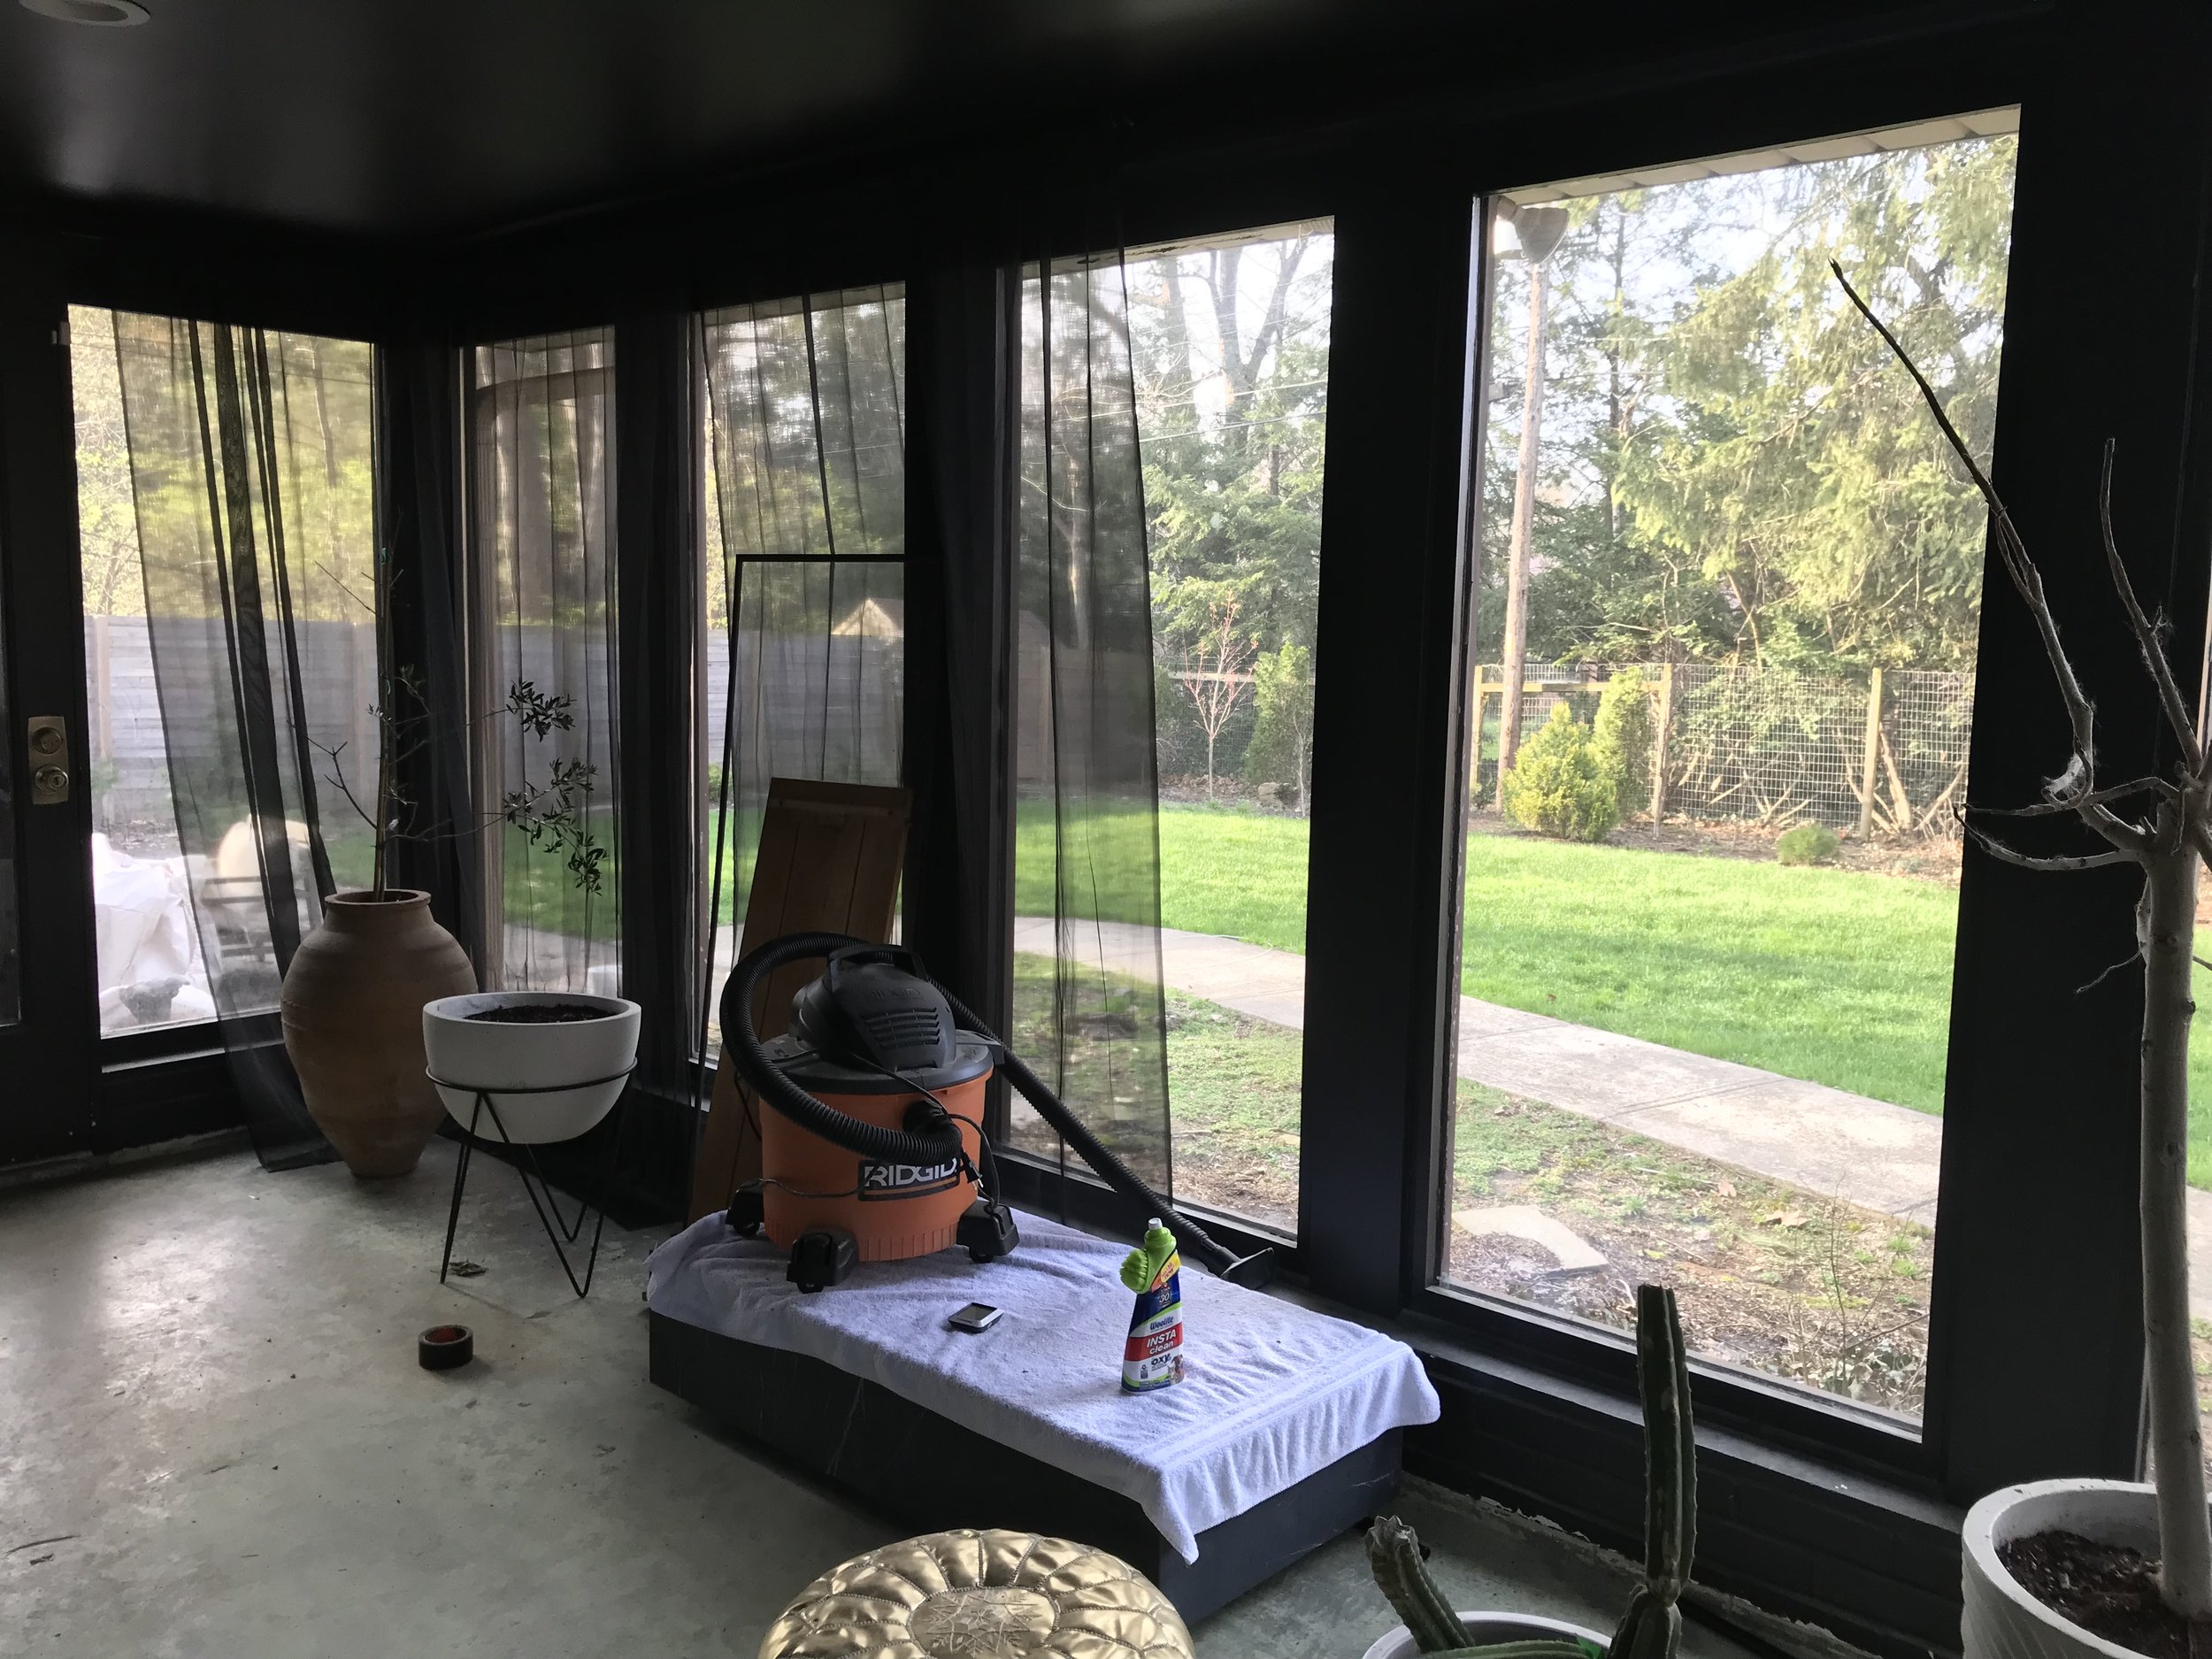
To think, 6 weeks ago our room was a dated mess! If you need a refresher, here is what it looked like to begin with…and this is AFTER it was cleared out! It was filled with random pieces of furniture, a million plants, and all sorts of junk.

I could not be more pleased with how this room turned out. I am usually pleased with all of my projects but this one was extra special given the unexpected budget restraints we had due to our IVF medication. Grand plans of new floors and special sunroom furniture were put aside and budget friendlier options were executed. With the exception of a few new items, the sunroom furnishings and decor were already owned.
Let’s begin the tour, shall we?
If you recall from the week one tour, our sunroom is right off of our dining room and leads to our backyard.

This is the view coming into the room from the backyard. The beautiful vintage charcoal rug was a great Etsy find and has just a little bit of pattern. I wanted something simple but not solid to pair with the beautiful ochre velvet on the chairs. The planter is a vintage Willy Guhl cone shaped concrete planter that was sourced awhile back from eBay. The tree is a Fishtail Palm purchased from a local nursery called Damman’s.


The simple seating arrangement is perfect for hanging out and having conversations. The two Alky chairs are deep and low providing a lounge-type sitting arrangement. The oversized vintage mirror was a great Marketplace find that another local Instagrammer (is that a word?!) and thrift guru posted about on her stories (Thanks Erica @theflywon!) and was centered to add a focal point behind the chairs as well as eve the illusion that the room is a little big bigger than it really is.
The wood side table was an amazing find from Zara Home and at such a great price point. P.S. It is solid wood! Also, a huge shout out to them for having AMAZING customer service.


The bench was a new purchase from AllModern. I needed a small piece to balance the two chairs and loved the simple lines of the legs. The bench top was built from scratch since the original was too big and reupholstered in a simple white linen. So far the bench has been Kevin’s spot for stretching out and enjoying the breeze.
The plinth marble table was also a Marketplace find but originally from Restoration Hardware. There are some water rings but they do not really bother me. I appreciate the patina that comes with the wear and tear of this beautiful natural stone.
The coffee table styling was kept simple since the chairs and mirror were the focal point o f that side of the room. The vintage egg was purchased from Jennifer Carbone @JKCVintagedecor on Instagram, the books and brass bowl from a couple of antique malls, the small bud vase from Magnolia Home, and vintage wood stick from Neybir Home, and the branch was cut right from our very own backyard.

This portrait is a special piece as it was a gift from my husband for our first anniversary. We found it in an amazing antique mall while in Seattle last summer and had it shipped home. I love how it compliments the velvet on the chairs.
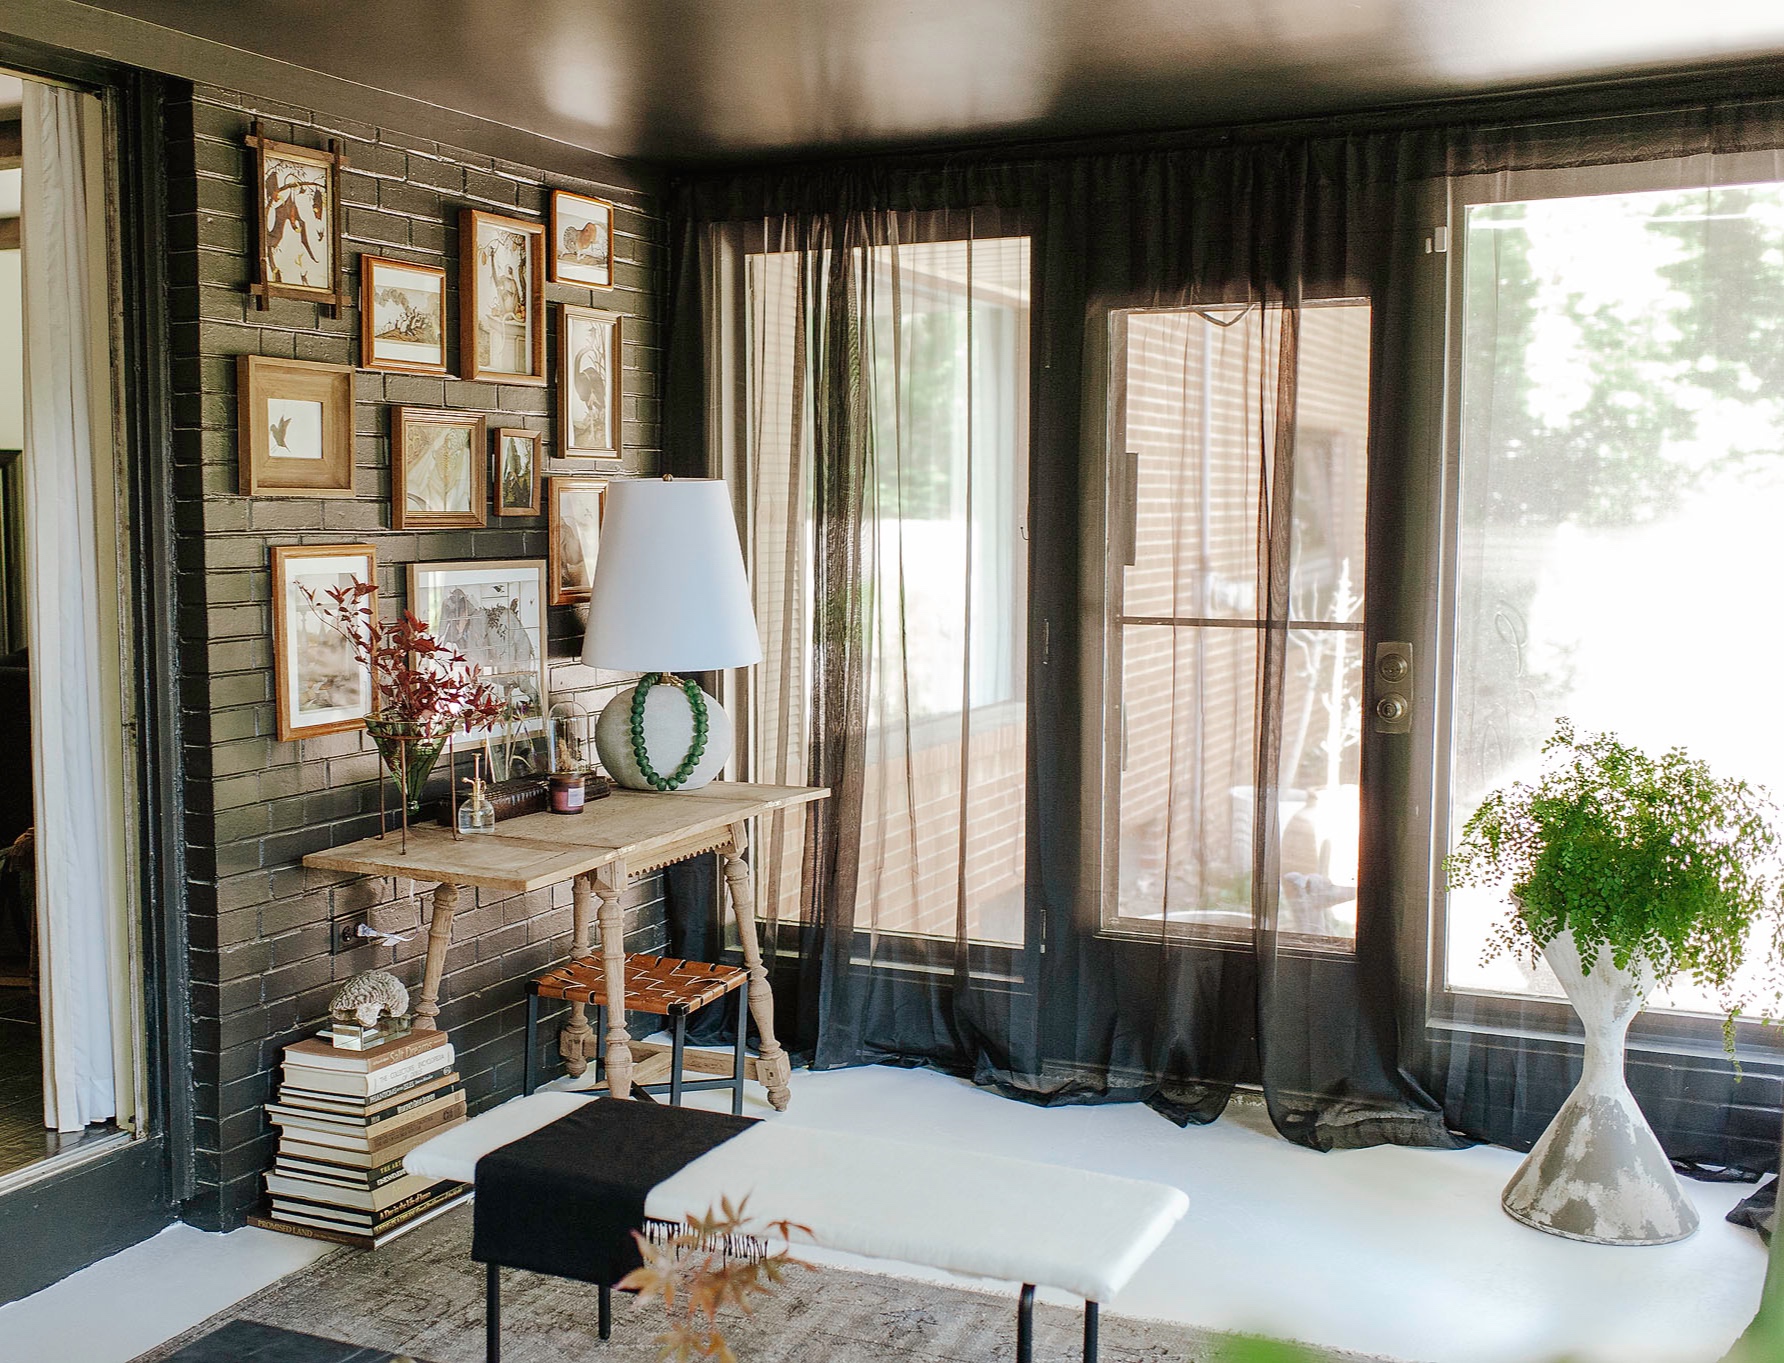
Above is the view from the other side of the room. A simple double cone planter from Shine Design Home displays a lush maidenhair fern. These babies are a bit Diva-ish and require a humid environment. Currently she is being watered about once or twice a week and misted daily.

The gallery wall is a mix of wood frames from Goodwill (on a 50% off day) and antique store finds. After my large 16 x 20 frame broke, I did have to fork over $20 for a new from from Target. The frames are filled with pages from my Walton Ford coffee table book.


The details on the top of the desk are a mix of new, vintage, and the special butterflies I shared awhile back have been moved into this room

Under the desk are a stack of books that were picked up from Half Price Books for $2-$4 a piece and are stacked to create a pedestal for this beautiful coral that looks like a brain.

If you follow me on stories, you may have seen that I created this easy DIY stool from an old stool from Target. The frame was painted matte black, the seat removed, and this faux leather weaved top was added to add another layer of texture to the room.
The room was a labor of love with some mistakes along the way but I am so relieved to finally have this done. The rest of my house is a total mess so it’s time to get things straightened up the next few days just in time for egg retriever! ***GASP*** Thank you guys for following along and your support. Keep us in your thoughts and prayers-maybe we will be blessed to design our own nursery for the next challenge!
Be sure to check out all the finished rooms over at the ORC Blog. Thank you Linda and BHG for another fun round of this event!
Photo Credit: Carissa Hawkins Photography